
Compadre comping
Compadre is Wisdom Pro’s comping tool. You give it several takes of the same part, such as three passes of a lead vocal or two guitar takes, and choose the best take for each phrase. Compadre can also suggest a comp for you. Everything you pick plays through your normal mix, so you hear each choice in the context of the song.
The result is ordinary regions on the comp track, with crossfades at every join. The original takes stay in the song, so you can change any choice later.
How takes work
Section titled “How takes work”A take group is a set of takes of one part on one track. The track that plays the result is the comp track. Each take is a playlist on that track, so making a group never copies or moves your audio.
When you make a group, what plays doesn’t change. The audio the track played before becomes the starting comp. Nothing changes until you pick a take or use a comp.
Make a take group
Section titled “Make a take group”You can bring takes into a group in several ways.
From recorded passes
Section titled “From recorded passes”- Loop Record. Turn on Options › Loop Record (⌥L) and record with the cycle on. Each pass is saved as its own playlist. When you stop, the passes become one take group, as one undo step.
- Recording over a region. By default, recording over an existing region also makes a take group, so the old audio is kept as a take.
- A track that already has playlists. Right-click the track header and choose Comp Playlists in Compadre, or choose Track › Take Group › Comp Playlists in Compadre. Each playlist that holds regions becomes a take.
From regions in the Tracks area
Section titled “From regions in the Tracks area”- Select two or more regions, one per take.
- Right-click one of them and choose Pack Take Group (also in Track › Take Group).
Each selected region becomes a take. Regions one after another on the same track count as one take. Overlapping regions on one track are separate takes.
To add a region to a group you already have, right-click it and choose Add as Take.
From audio files
Section titled “From audio files”Choose File › Import › Audio Files as Takes… and pick two or more files. Each file becomes a take, and all of them start at the playhead. You can also drop the files onto the open Compadre screen.
From a Logic project
Section titled “From a Logic project”When you import a Logic project, tick Keep all takes. Each Logic take folder becomes a Compadre take group, and Logic’s comp starts out as what plays. See Opening a session.
From the standalone Compadre app
Section titled “From the standalone Compadre app”If you made a comp in the standalone Compadre app, open the Compadre screen and choose More › Import Compadre project…. Its takes come in as a take group on the lead vocal track, and what the lead plays now keeps playing. Use Import Compadre project again… after you add new takes in the app.
The Compadre screen
Section titled “The Compadre screen”Open the Compadre screen with View › Compadre Screen (⇧⌘C). You can also double-click a comp region in the Tracks area. The screen replaces the Tracks area. Click ‹ Tracks, press Esc or press ⇧⌘C again to go back.
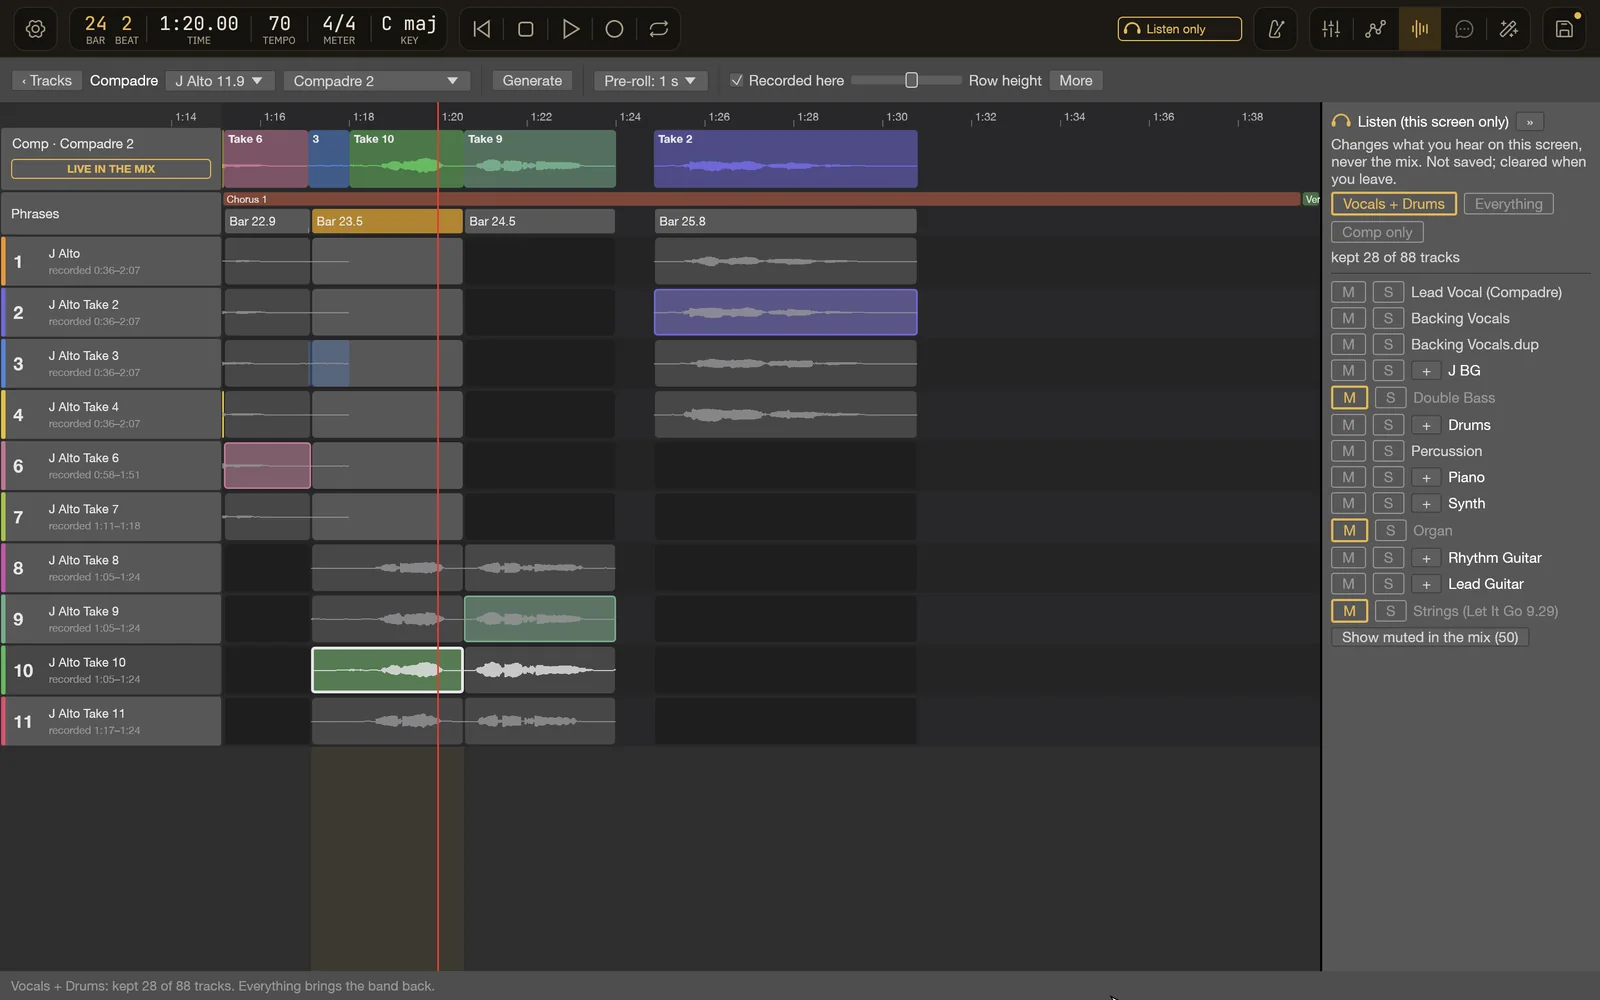
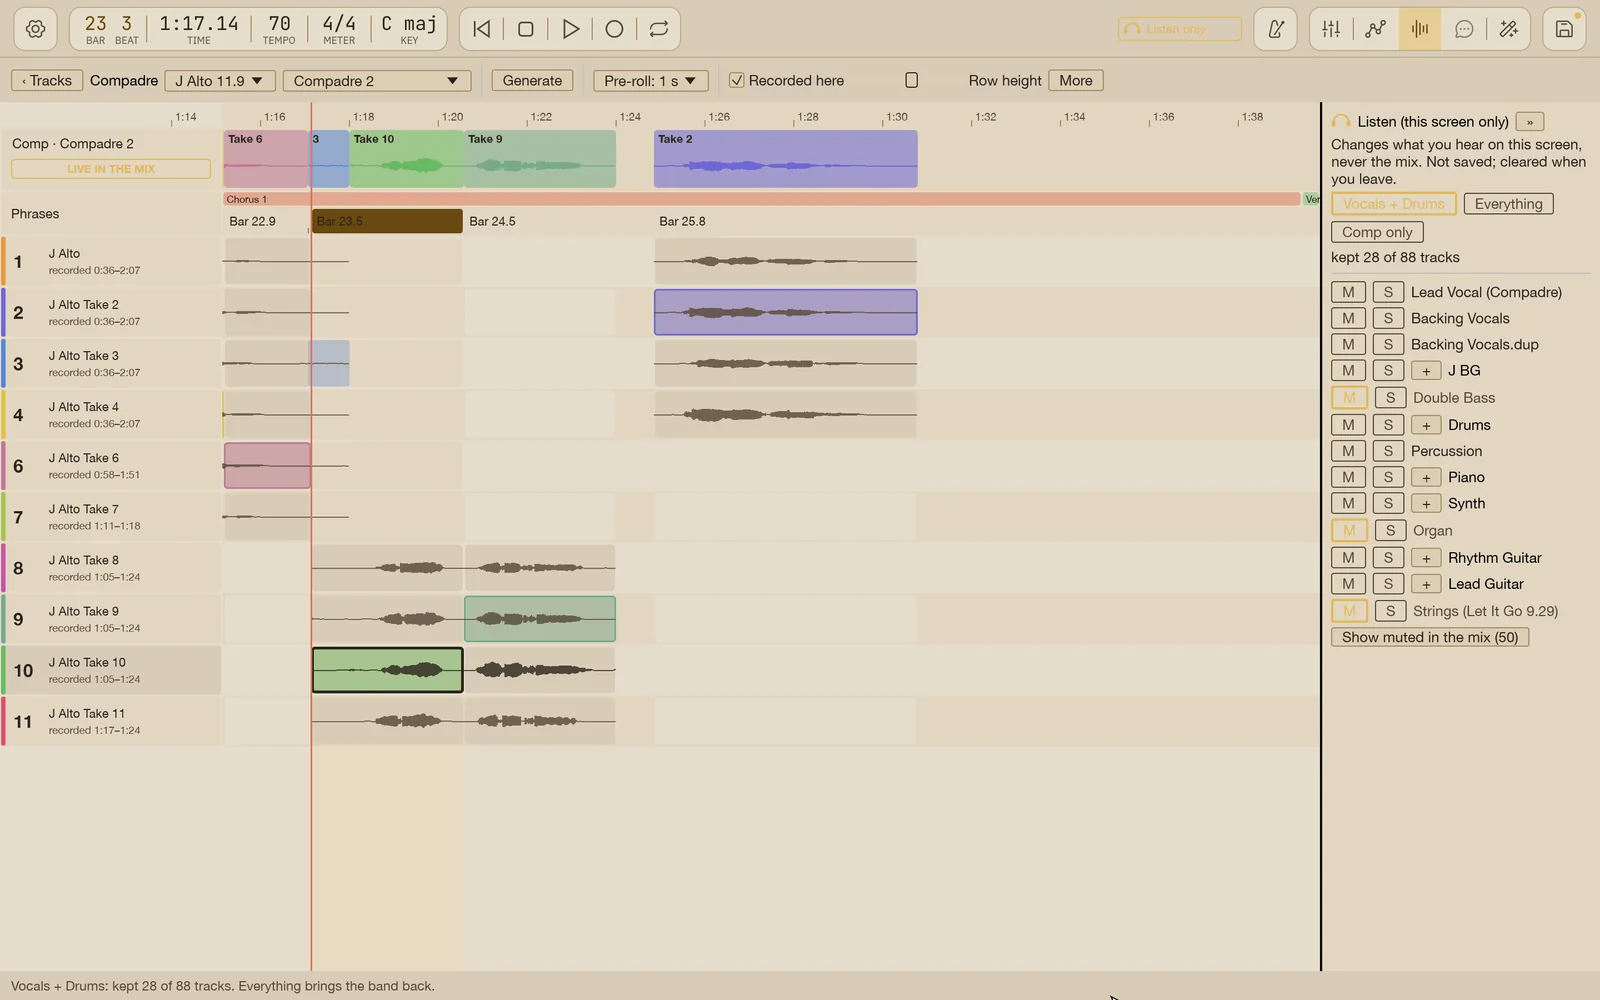
From top to bottom, the screen shows:
- The top bar. It shows the take group (a menu, if the song has more than one), the comp that plays, Generate, Use Comp, the pre-roll setting, Recorded here, Row height and the More menu.
- The comp row. It shows the comp, with each phrase colored by the take it uses.
- The phrase row. Each phrase is a column. Click a phrase to play it, double-click to zoom to it, and right-click to name it (for example, with the lyric line).
- One row per take. Each take shows its waveform.
- The listen strip on the right (see Listen with only some tracks).
One phrase is always the active phrase. Its column is tinted and its chosen take is framed.
Pick takes
Section titled “Pick takes”- Click a take in a phrase to use it there. That take is chosen for the whole phrase, and playback starts a short pre-roll before the phrase, so you hear the new take come in with the rest of the song.
- Drag across a take’s row to swipe just that range. Swipe when you want part of a phrase from one take and the rest from another.
- Click the take that’s already chosen to play it again without changing anything.
Each pick is one undo step. You can pick while the song plays. The playback fades out, the change is made in silence and playback starts again, so a switch never pops.
The first pick works right away. You don’t need to run Generate first.
Keys on the Compadre screen
Section titled “Keys on the Compadre screen”| Key | What it does |
|---|---|
| Left Arrow / Right Arrow | Previous or next phrase |
| Up Arrow / Down Arrow | Choose the previous or next take in the active phrase |
| 1–9 | Choose that take number. Type two digits quickly for Take 10 and up (1 then 3 is Take 13) |
| ⌥-click a take, or ⌥↑ / ⌥↓ | Hear one take alone, without choosing it |
| Return | Play the active phrase again |
| C | Loop the active phrase |
| ⇧C | Loop the join between this phrase and the next one |
| ⌘= / ⌘- / ⌘0 | Zoom in, zoom out, reset zoom |
| ⌘Z / ⇧⌘Z | Undo or redo the last pick, and play it again |
| Esc | Back to the Tracks area |
When you listen to one take alone, the top of the screen says LISTENING TO ONE TAKE. Option-click the take again, press Space or make a pick to stop.
Pre-roll and rows
Section titled “Pre-roll and rows”- Pre-roll sets how much plays before a phrase when you pick or replay it: 0.5 s, 1 s, 2 s or Previous phrase.
- Recorded here shows only the takes that have audio in the active phrase. Turn it off to see every take.
- Row height sets how tall each take row is.
Let Compadre propose a comp
Section titled “Let Compadre propose a comp”- Click Generate. Compadre analyzes the takes in the background. A progress bar and Cancel show while it works.
- Compadre makes a proposal. What plays doesn’t change yet. The comp row shows PROPOSAL · not in the mix.
- Listen and compare. When you already have a comp, the button says how many phrases differ, for example Use Comp (differs in 4 phrases).
- Click Use Comp to make the proposal play in the mix. This is one undo step, and it works while the song plays.
After that, keep picking takes by hand to change any phrase.
If you change the takes, the phrases or the Compadre settings after Generate, the screen says Proposal out of date · Generate again.
Saved comps
Section titled “Saved comps”Every comp is kept. The menu next to the group name lists them, marked starting, yours or Generate, with · in the mix next to the one that plays.
- Click a comp in the list to play it in the mix.
- Click Delete next to a comp to remove it. You can’t delete the comp that plays or the starting comp.
Editing a comp you go back to makes a new saved comp, so the old one stays as it was.
Listen with only some tracks
Section titled “Listen with only some tracks”The listen strip on the right lists the song’s tracks with mute and solo buttons. Use it to hear the takes against just the drums, for example.
These mutes and solos are for the Compadre screen only. They never change the mix, a bounce or the saved song, and they are cleared when you leave the screen. Tracks that the mix itself mutes stay silent here too.
Drag the strip’s edge to make it wider or narrower. Click » to fold it away.
Manage takes
Section titled “Manage takes”Open the More menu on the Compadre screen to:
- Add take. Add another playlist of the comp track as a take.
- Import audio files as takes… Add files as new takes.
- Rename or remove a take. A removed take leaves the group, but its audio stays in the song. You can’t remove a take the playing comp still uses.
- Unpack take group. The takes go back to being ordinary playlists and tracks, and what plays stays the same.
- Take lanes in Tracks too. Show the take lanes under the comp track in the Tracks area as well. This only changes the view.
- Follow the playhead. Scroll the screen with playback.
Multi-mic takes (drums and other multi-mic instruments)
Section titled “Multi-mic takes (drums and other multi-mic instruments)”When an instrument was recorded on several mics at once, such as a drum kit, you can lock the mics together so every mic always plays the same take.
- Name each track with its mic and take number, such as “Kick In TK1”, “Kick In TK2”, “Snare TK1” and “Snare TK2”.
- Select all those tracks, right-click a track header and choose Lock Selected as Mic Takes.
What plays doesn’t change. After that:
- Right-click the header of any mic’s track, or the stack that holds the kit, and choose a take from Takes. Every locked mic plays that take, over the selection if you made one, otherwise over the whole take. The cuts land on the same sample on every mic, with short crossfades.
- Select Previous Take (⇧⌘↑) and Select Next Take (⇧⌘↓) step through the takes.
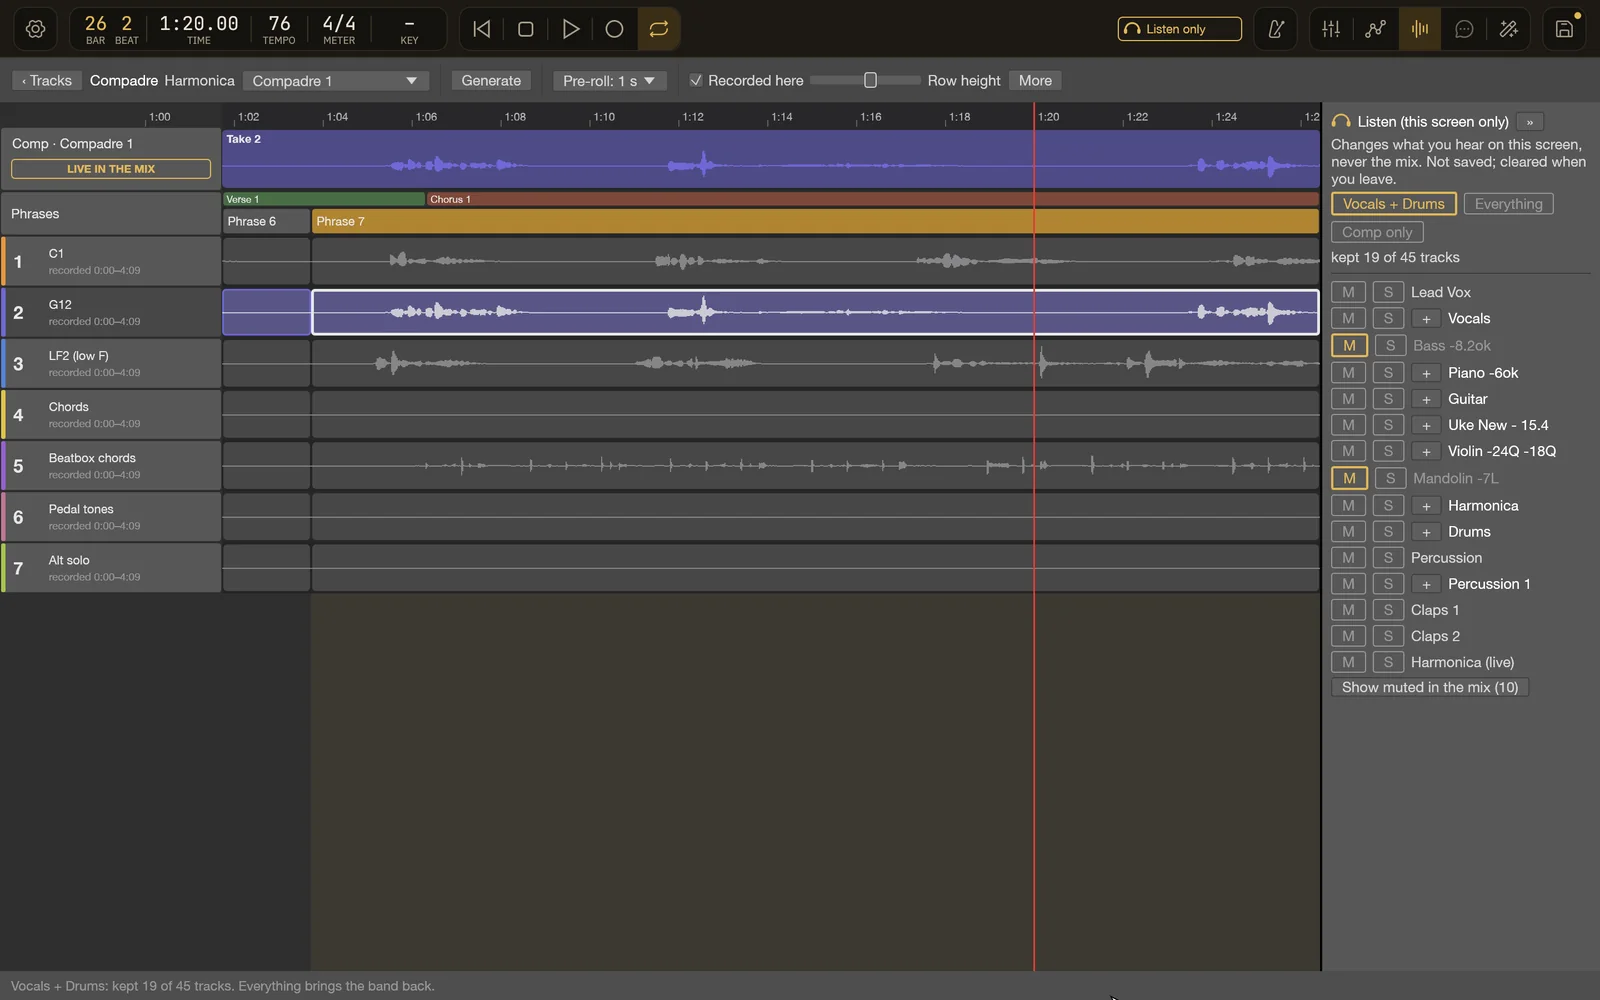
- With a kit track selected, ⌥F shows or hides the kit’s take rows under its lane. Click a take row to choose that take for the phrase on every mic, or drag across it to swipe a range.
- ⌥Q turns Quick Swipe Comping on or off for the kit.
- Flatten Kit Takes (⇧⌥U with a kit track selected) makes every mic keep what it plays now as plain regions.
Undo and saving
Section titled “Undo and saving”Every pick, swipe, Use Comp, add, remove and unpack is one undo step. Saved comps are stored with the song, so you can switch between them after you reopen it.
Logic Pro is a trademark of Apple Inc., registered in the U.S. and other countries. Wisdom Pro is not affiliated with or endorsed by Apple.
Built so far:1,292 hours24.1 billion tokensabout $8,700 at API pricesupdated Nov 21, 2026 What these numbers mean